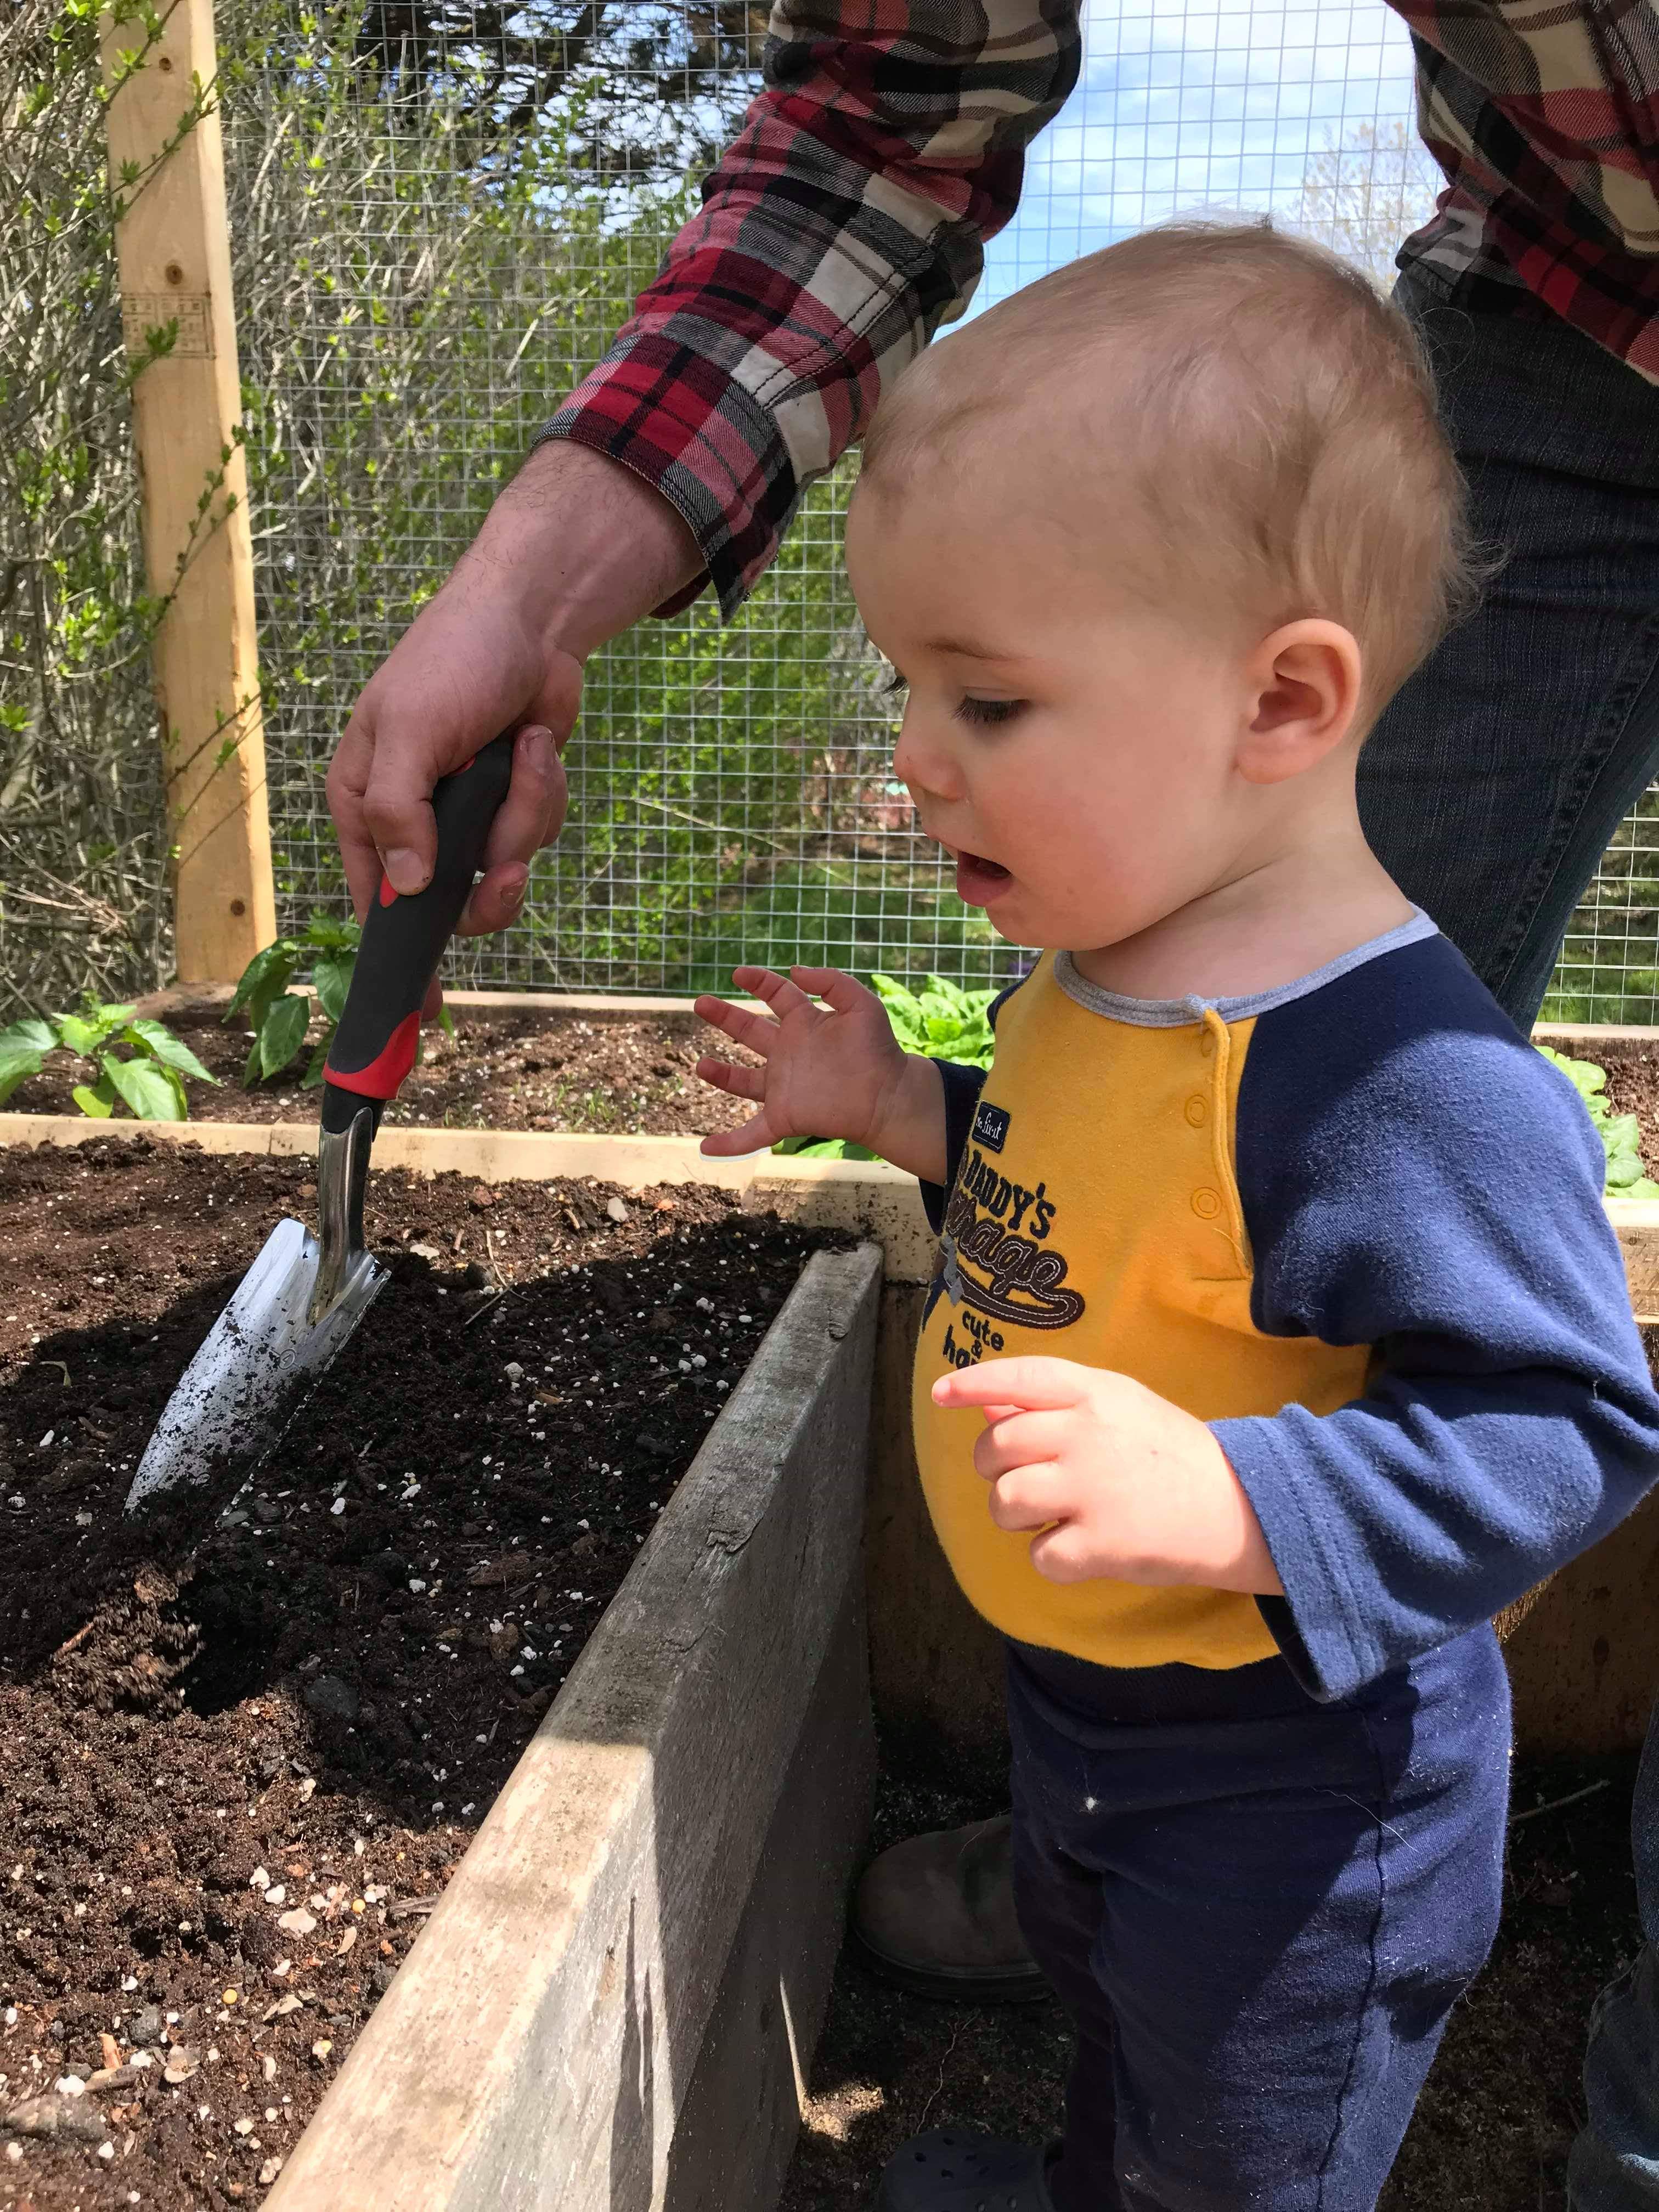
Gardening season is fast approaching as the weather continues to warm up! The flowers are beginning to bloom, including the dandelions (which are great for our pollinator friends). We are hoping to be transplanting our seedlings in the next week or so!
Raised garden beds are a staple for urban gardens. Although not required, raised beds offer multiple advantages over gardening directly into the ground such as helping reduce the amount of weeding required. Raised beds are also fairly cheap to build. My beds cost about $30 each and take 10 minutes to build.
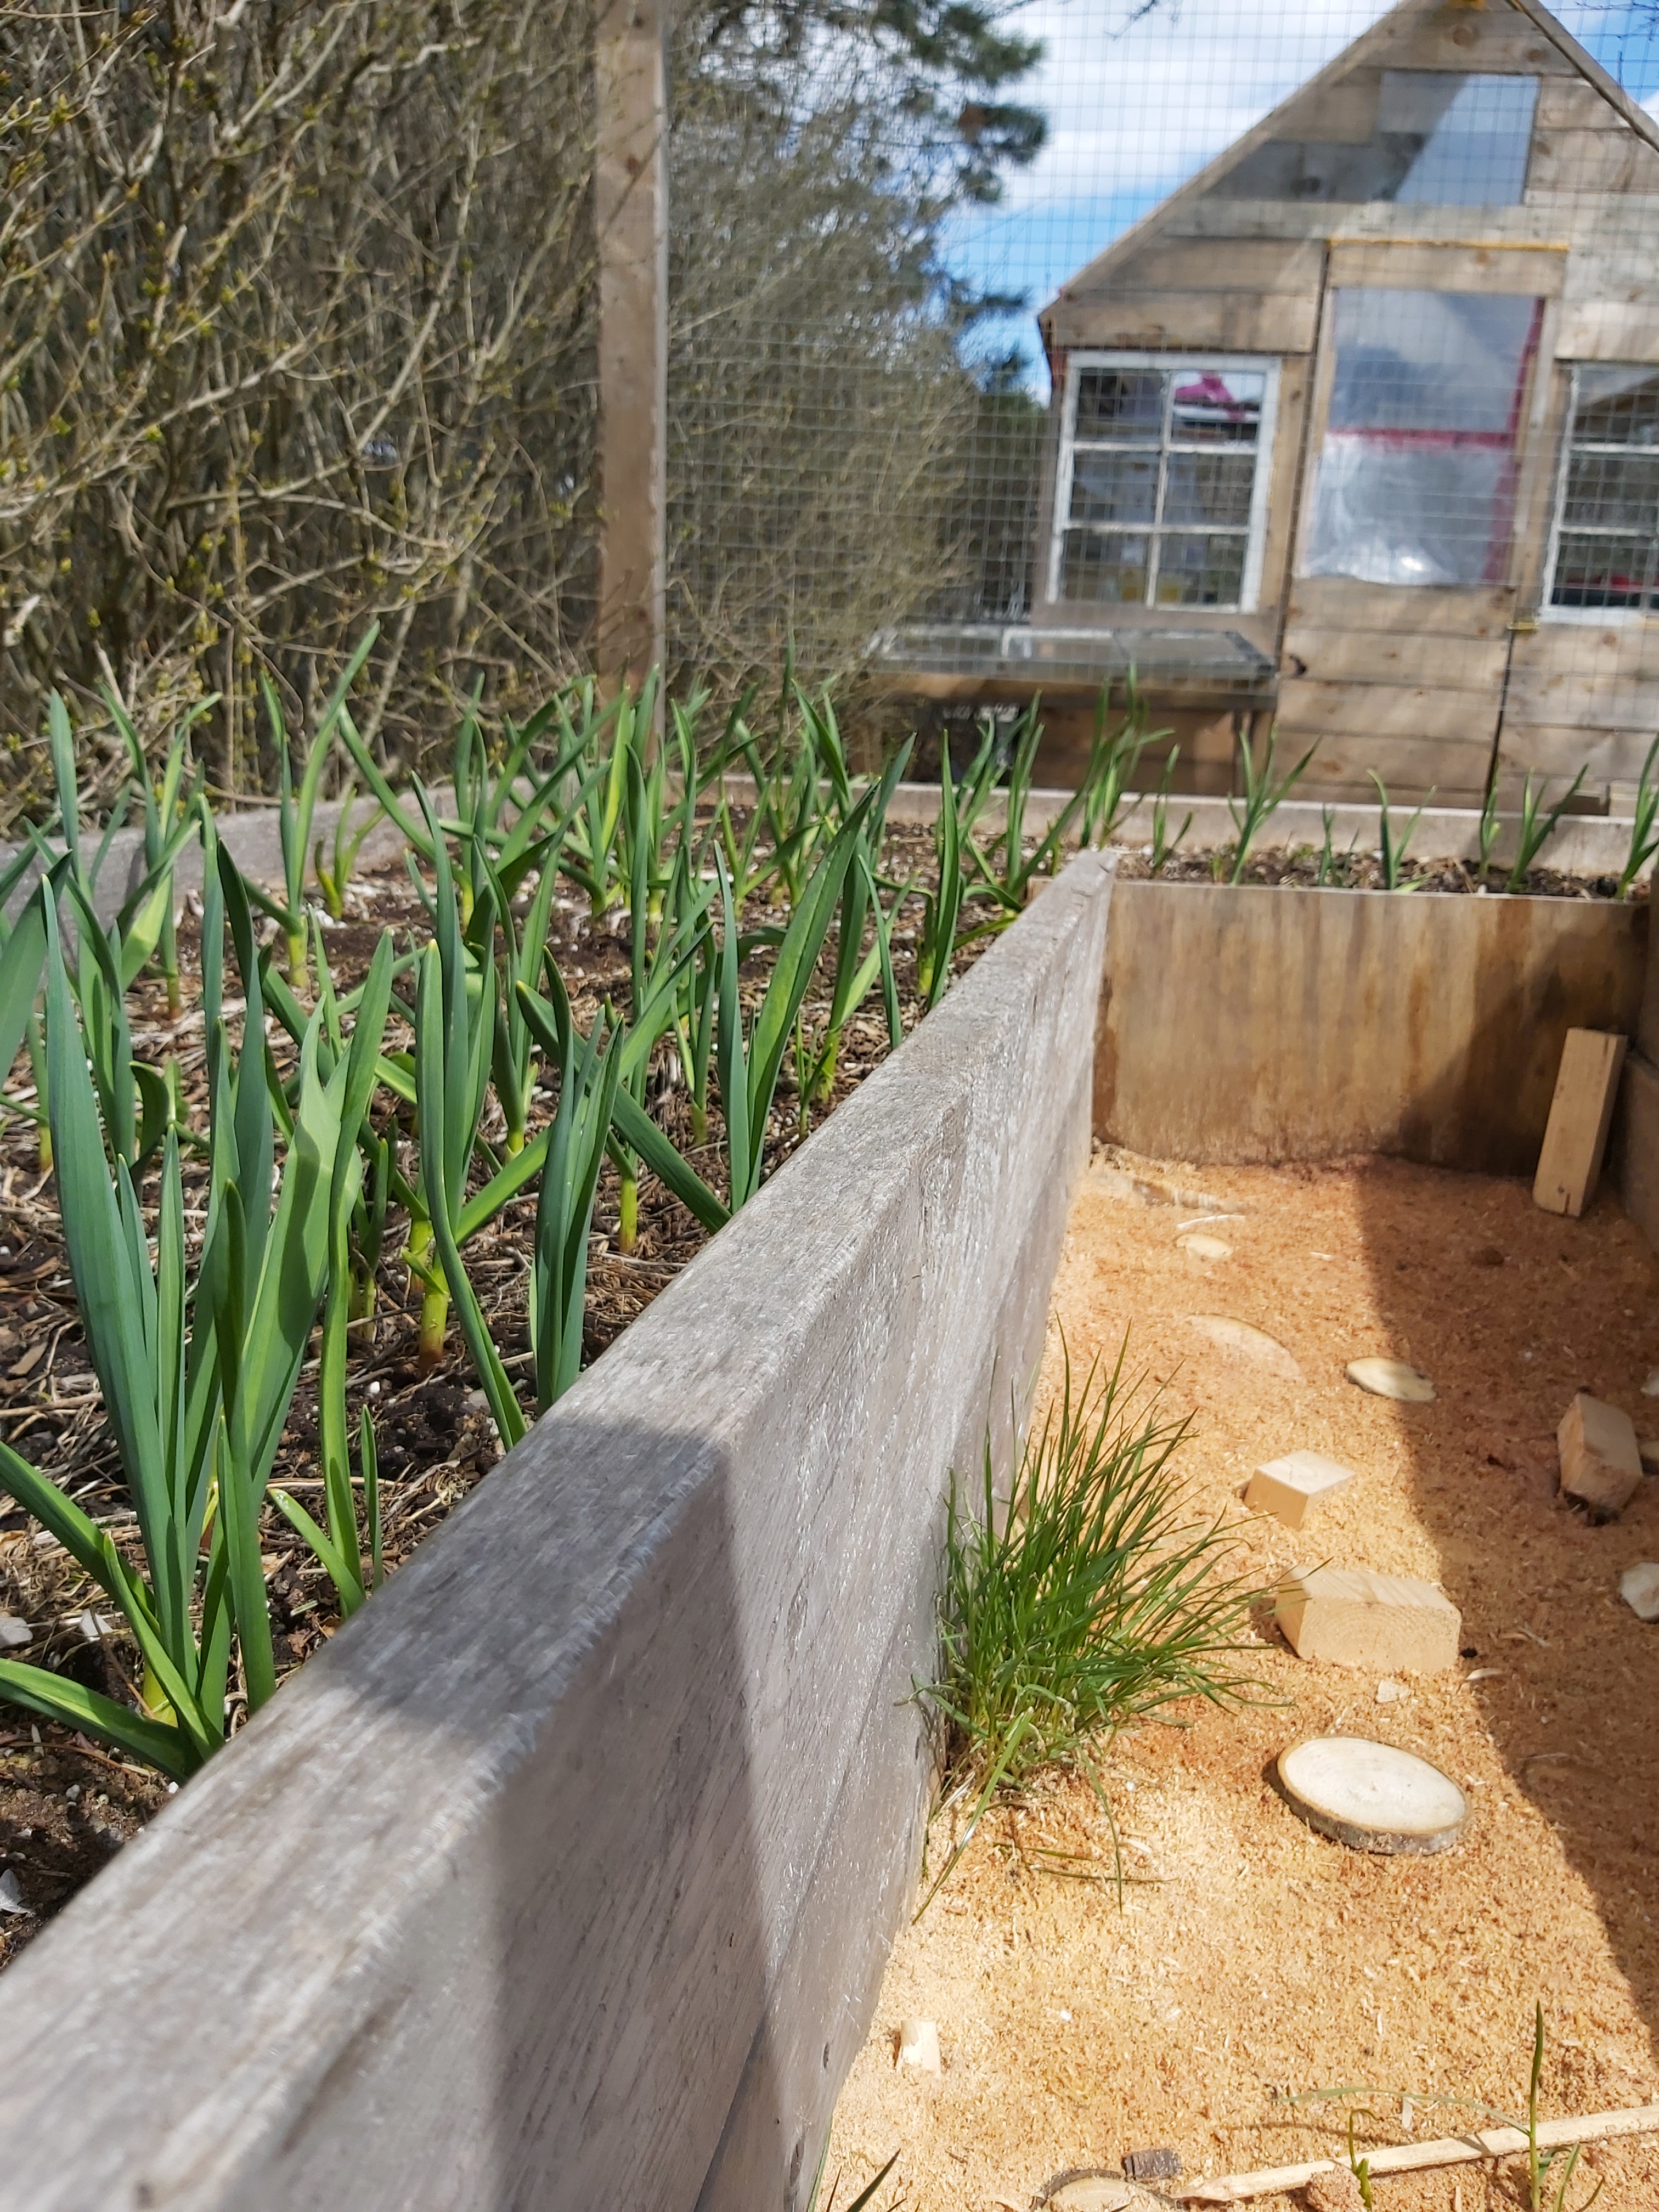
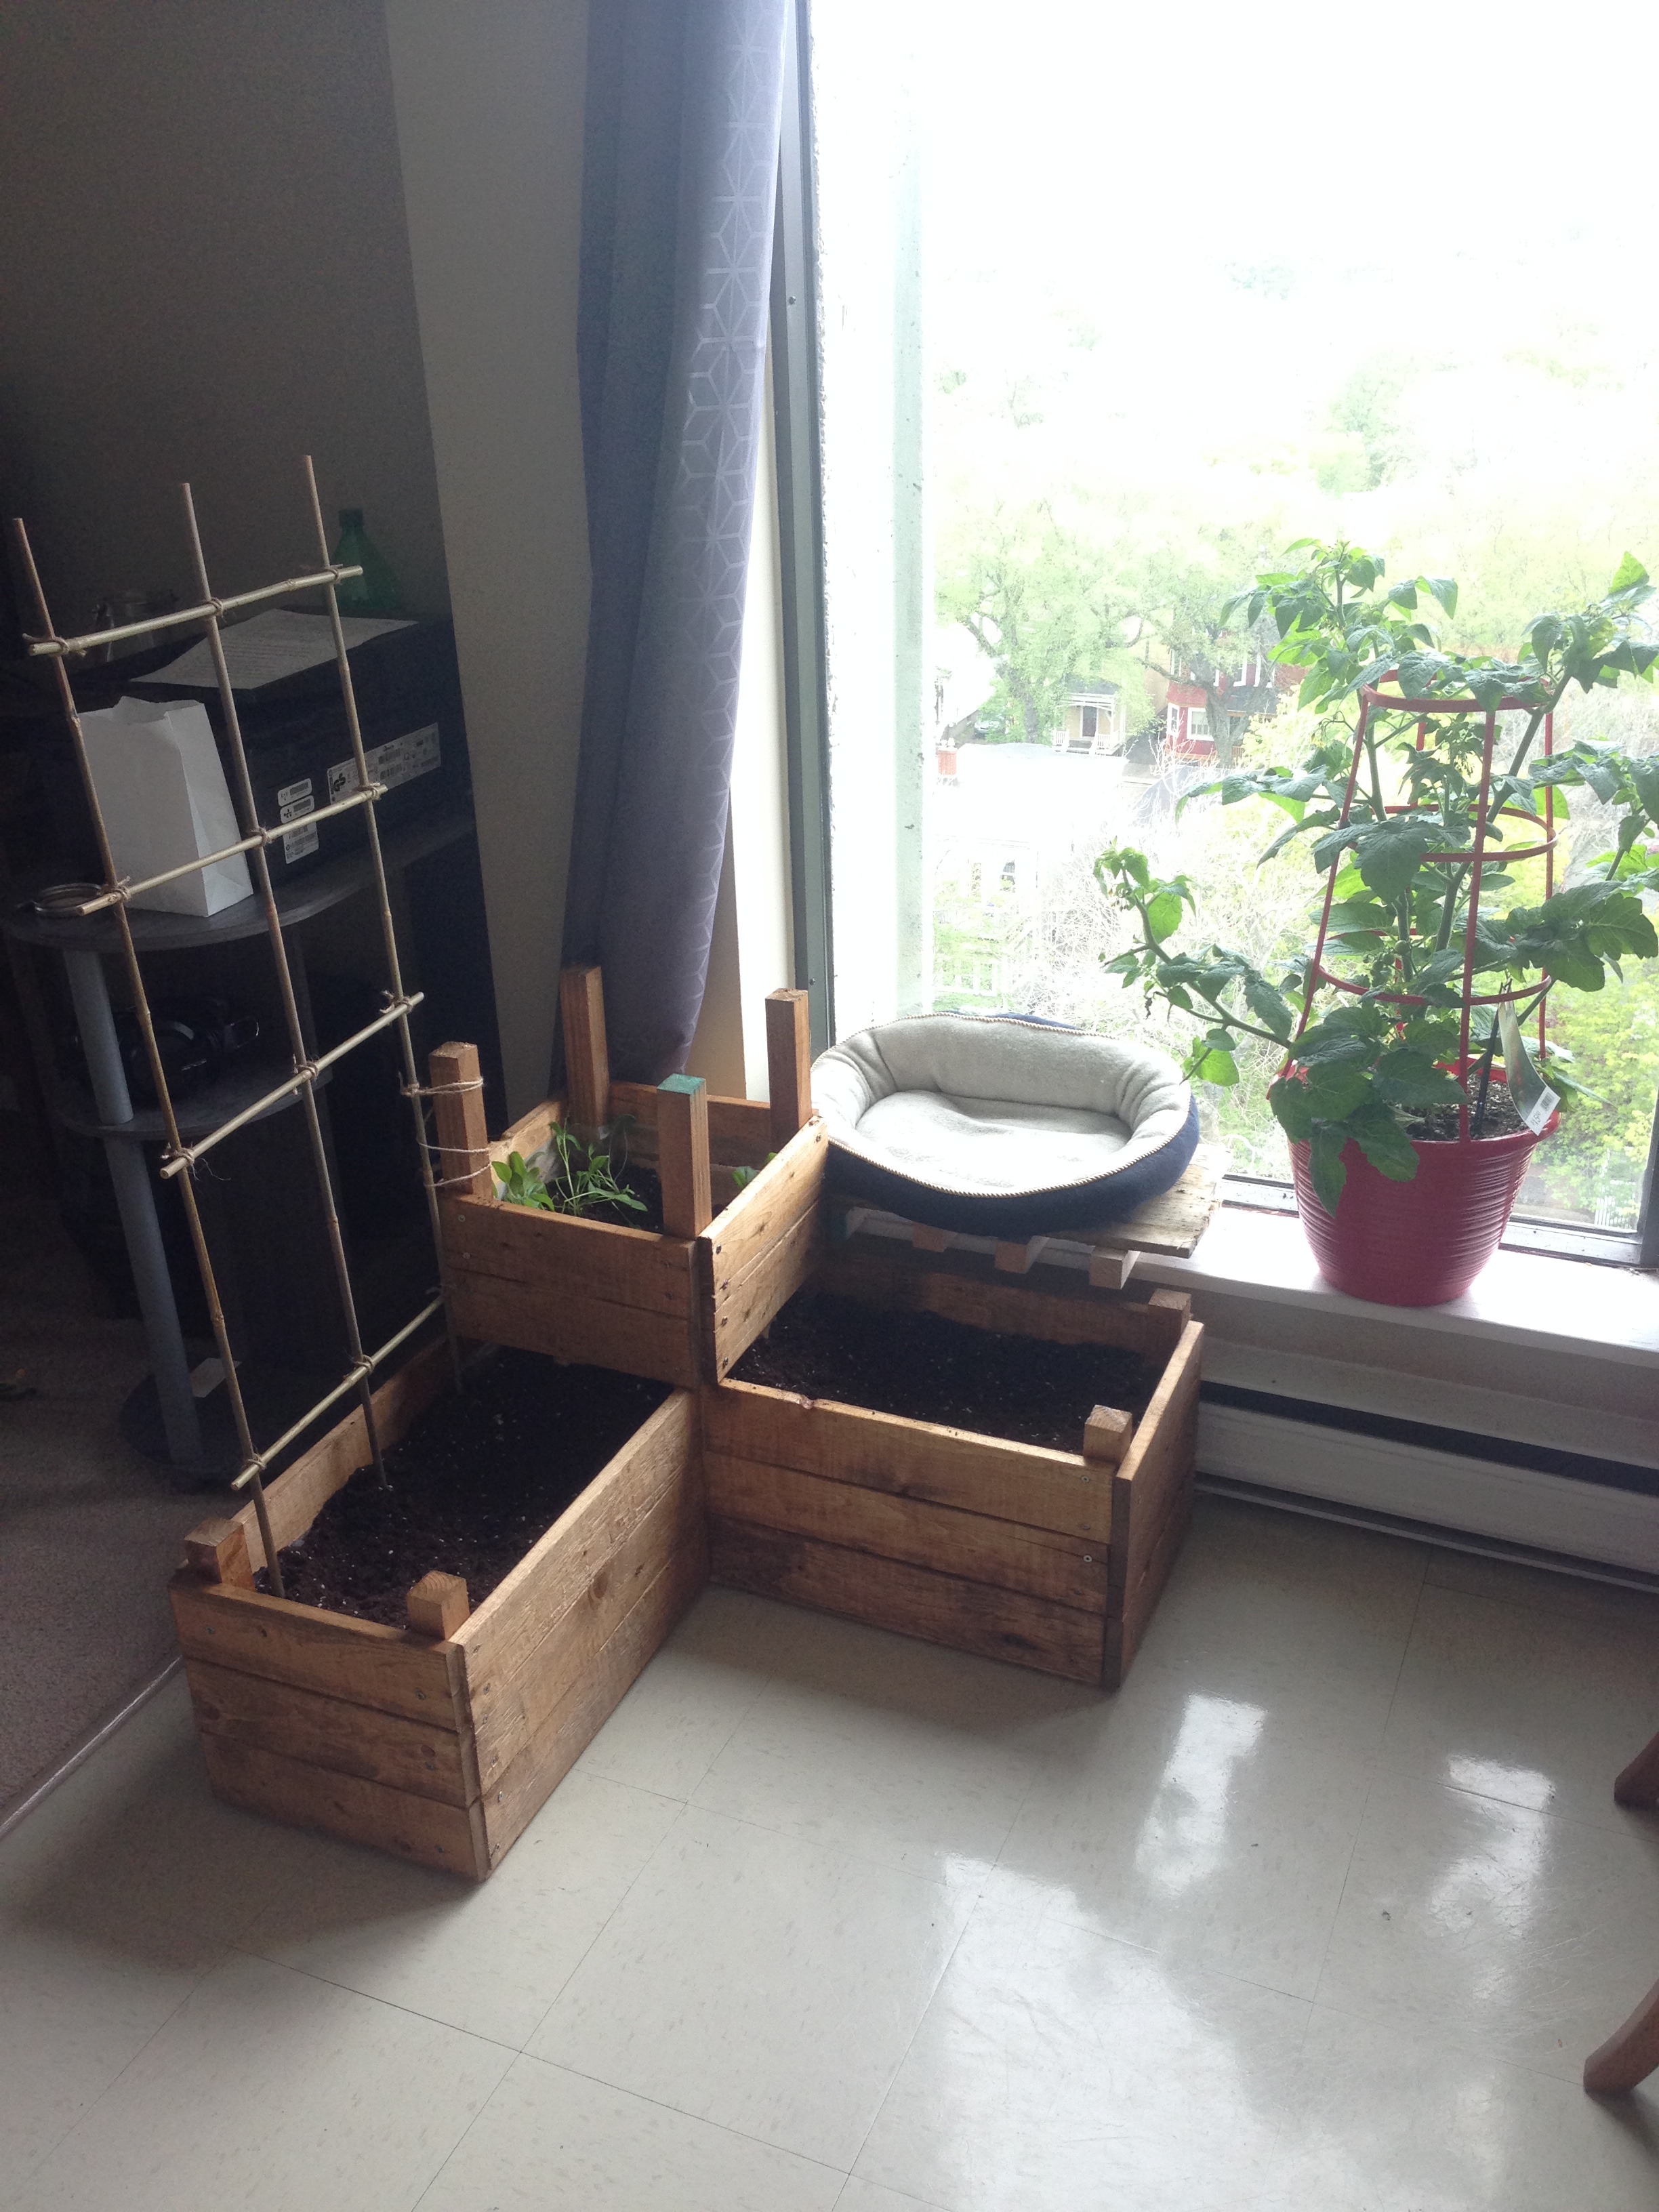
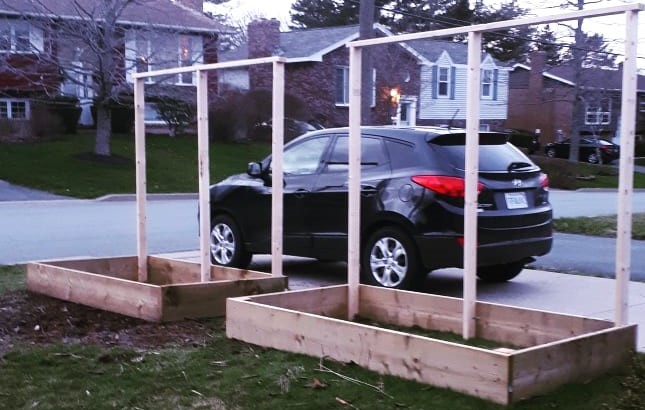
The biggest advantage for gardening in a small space is the ability to customize these structures. On our homestead, we currently have five raised beds that we use to grow our vegetables. We have two beds that are 4 ft by 8 ft, two beds that are 2 ft by 8 ft, and our last bed is 6 ft by 8 ft with a pathway down the middle. Before we moved here, I had a small raised bed (about 5 sq. ft of growing space) in our 15th floor apartment. With a little creativity, you can use this gardening method anywhere!
Raised beds allow the soil to warm up early, they are more resistant to pathway weeds, they provide good drainage, and serve as a barrier to pests such as slugs.
There are a few considerations to building a raised garden bed:
1. Where will the bed be placed? You want to make sure that the bed gets an appropriate amount of sun for the plants you want to grow.
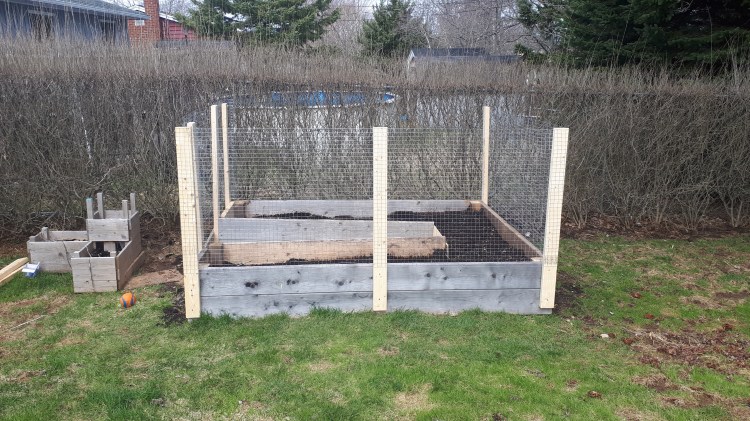
2. What will the bed be made of? All of my raised beds are made of untreated pine boards but the best options are cedar wood or metal as neither will breakdown.
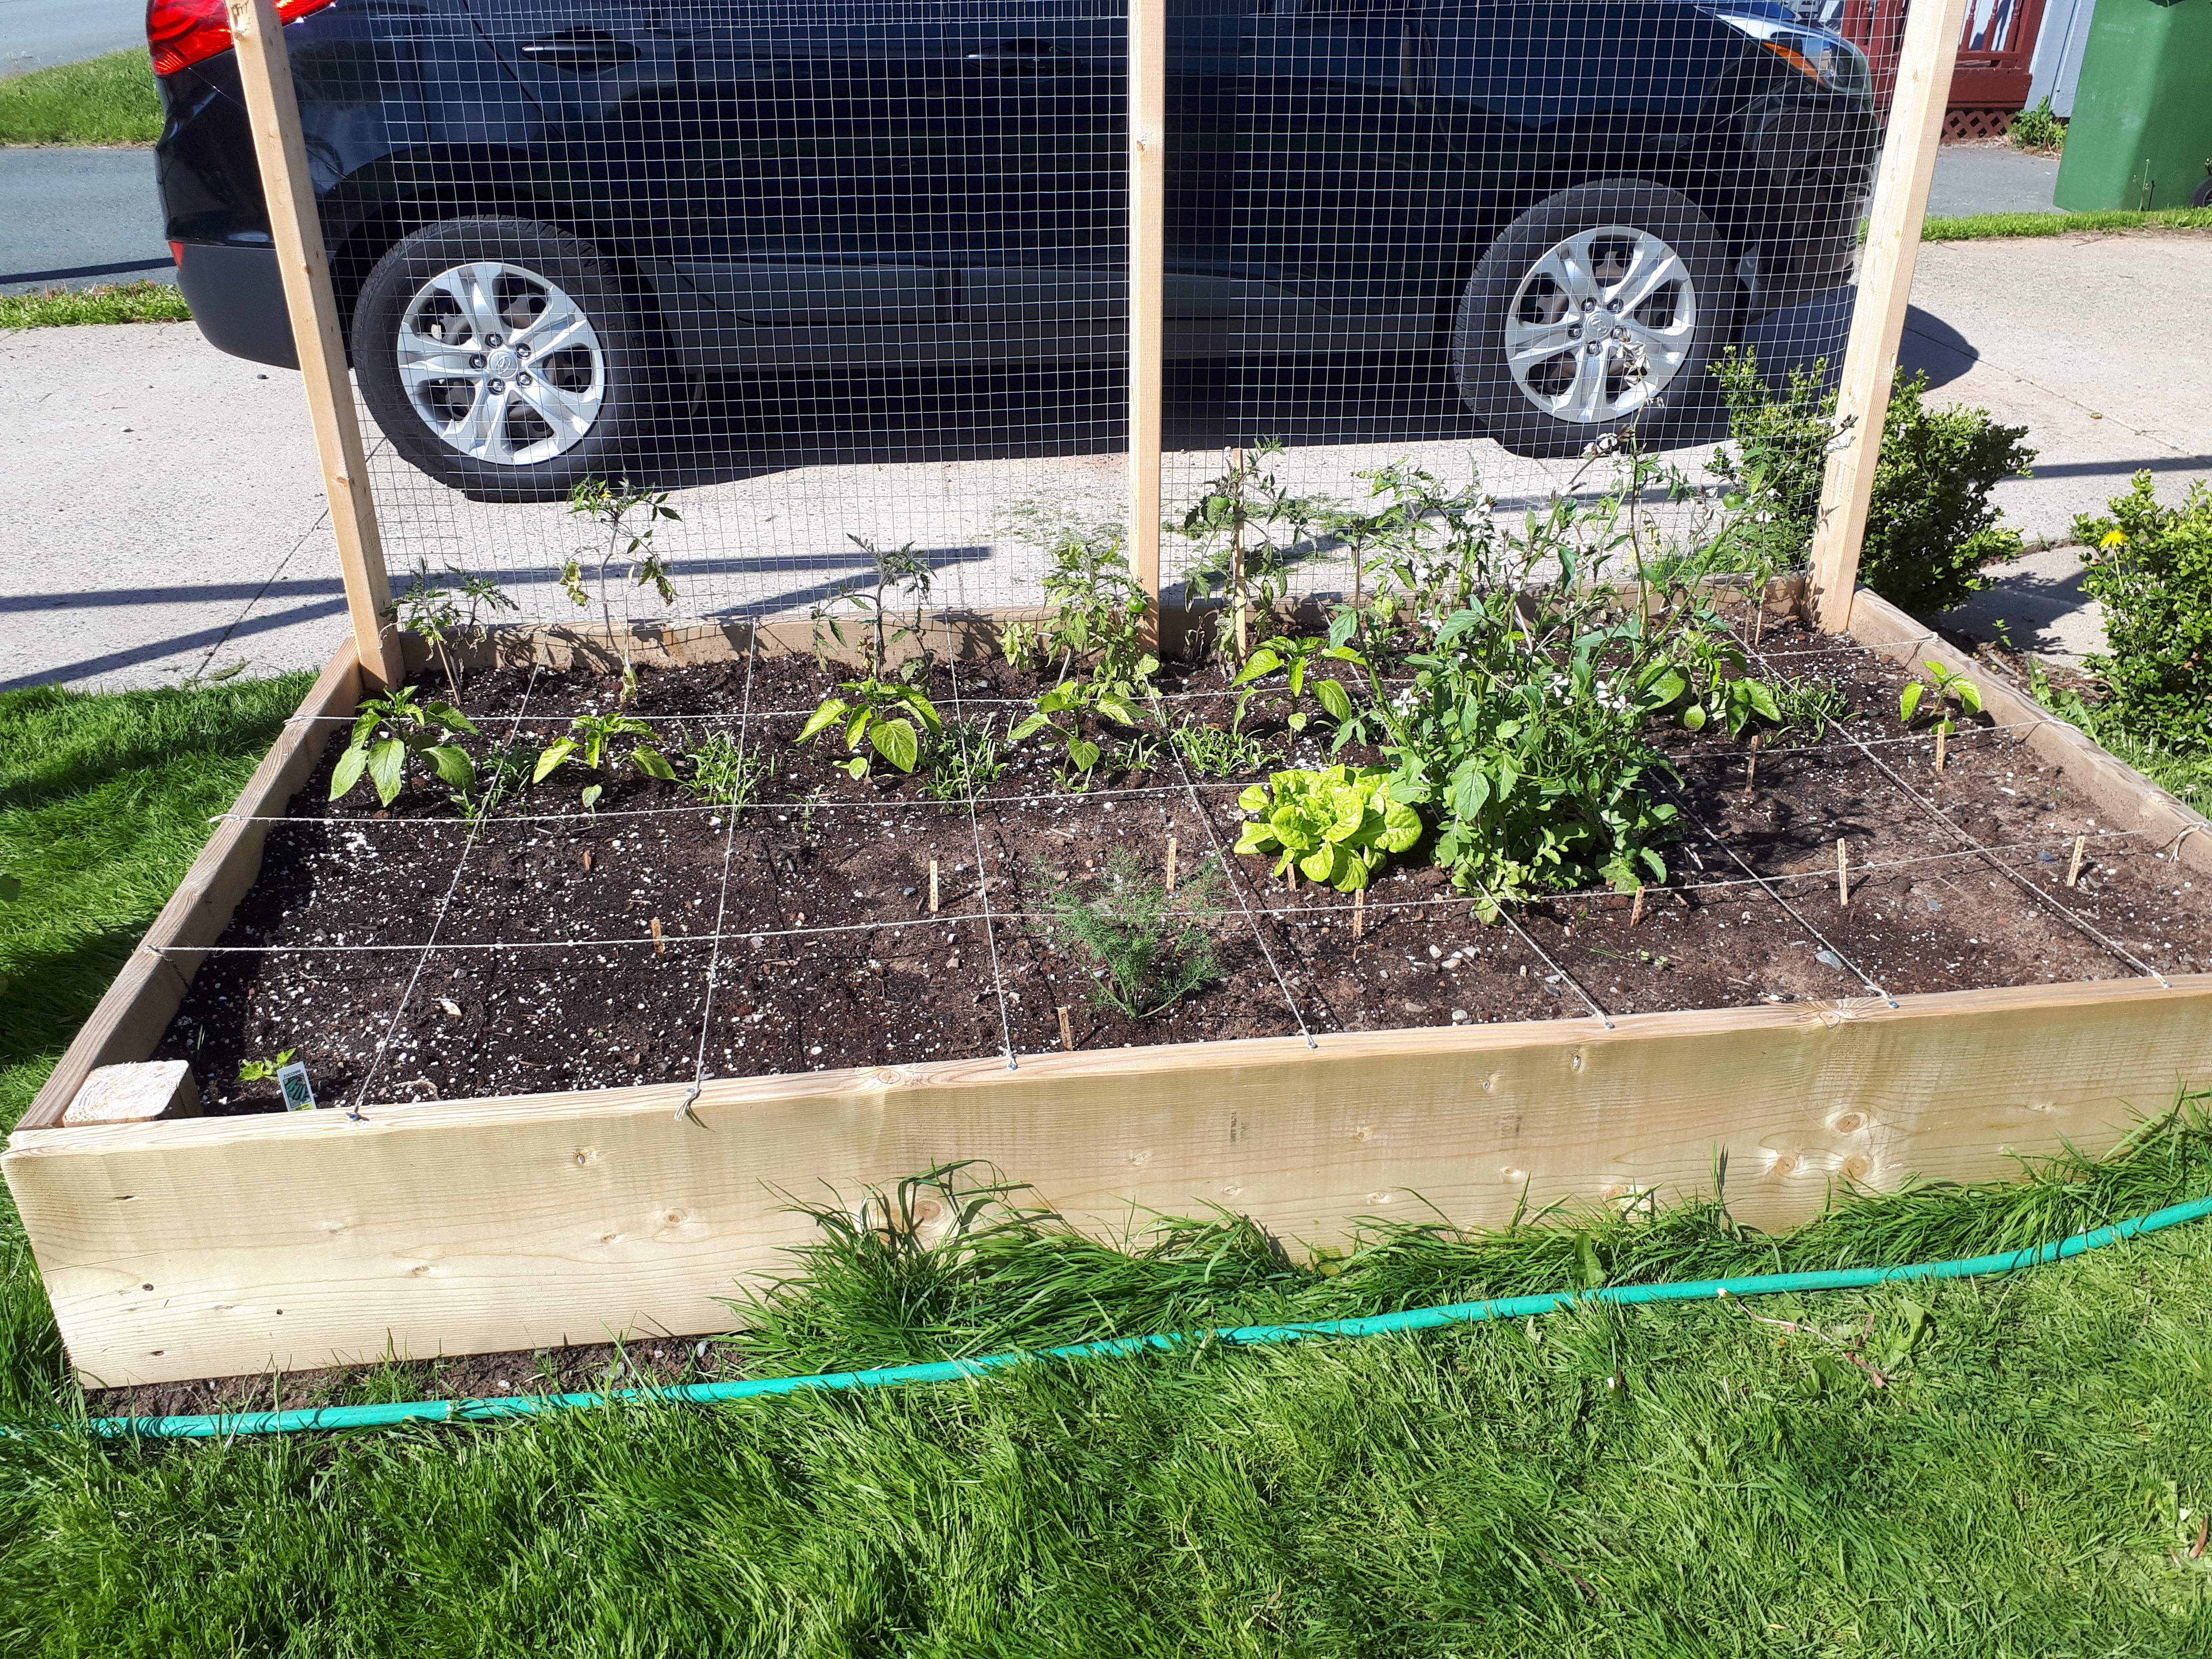
3. How big of a bed will you need? My beds are all either 4’x8′ or 2’x8′. I do not recommend making a bed wider than 4′ or you will not be able to reach the center plants without getting into your garden.
Typically, garden beds are built to be at least 12″ deep. If your raised bed does not have a bottom, you can make it more shallow. I have two beds for my salad vegetables that are only 6″ deep.
How to build the bed?
Construction of these beds couldn’t be easier! All you need are the following items:
1. 2x12x8 spruce boards x3 -you can adjust these dimensions based on the size of the bed you want to build.
2. Optional: pieces of 4×4 boards can be used to help secure the corners. I have used this on some beds but my beds without these corners have worked just as well.
3. 4 inch screw (or nails)
4. A drill (or hammer)
5. Optional: Drill bits for predilling the holes
6. A saw (a hand saw works) – alternatively, you could have the board cut at the hardware store where you buy it.
The goal is to build a box. Take one of your boards and cut it in half.
You now have two boards that are 4′ long and two boards that are 8′ long.
Set the boards into a rectangle where you want the bed to stay. Then, using your drill and screws, attach the corners together.
Optional: you can paint or stain your frame to prevent it from weathering or to add a different appearance. I didn’t bother to do this so after a year, the wood has turned grey. But it still works just as well to grow my vegetables.
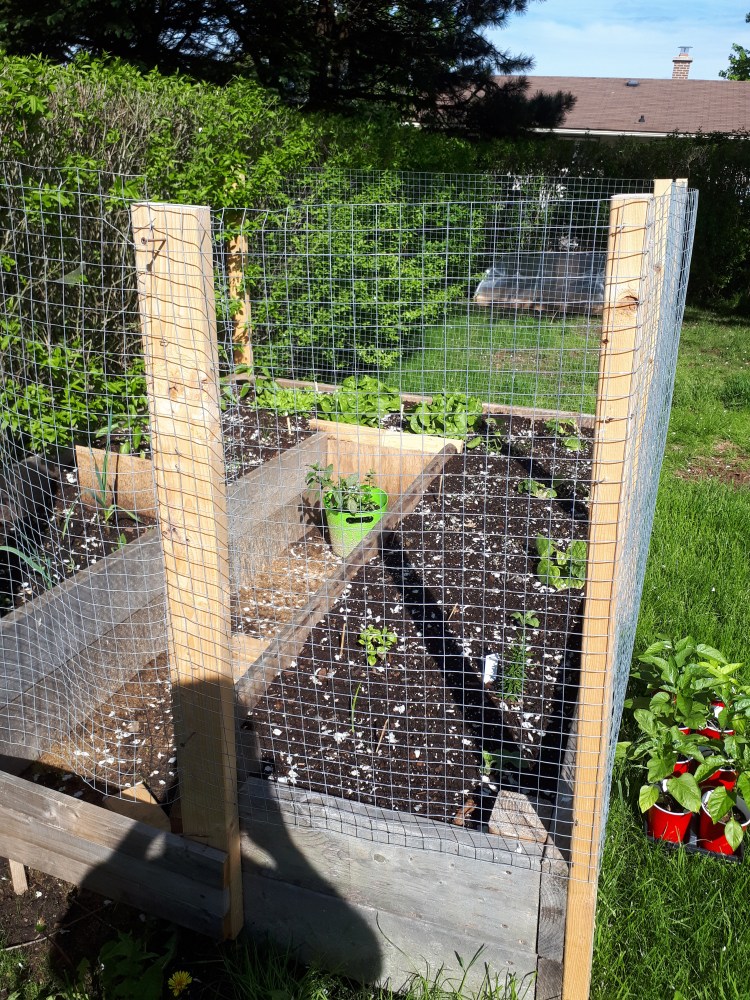
When building your raised beds, you could also opt to add in trellises as we did. We then lined the empty space with chicken wire. I would recommend using a wire with a larger hole spacing such as two or three inches. This allows the plants to easily weave through the wire.
How to fill your new raised bed?
I recommend using the lasagna method to filling your raised beds. The bed can be placed directly onto grass, or pavement, or whatever location you intend to grow on.
Begin by placing a layer of cardboard. The cardboard will suffocate weeds and grass and, in time, will breakdown providing nutrients to your plants.
Next, a layer of organic matter such as leaves or small branches should be used. Avoid using grass clippings. These materials will provide another surplus of nutrients to your plants once they have decayed.
Finally, add a layer of compost followed by a layer of top soil. Once all of the layers are added, give the bed a good soak with the hose.
Now you are ready to plant your garden! If it is still to cold to plant in your area, check out my guide to gardening in March where I talk about season extenders. The season extenders also work into the fall allowing you to have your fresh garden salads later into the year!
Good luck with your garden this year! Feel free to leave any questions down below! Tell me your garden plans for this year!